Introduction
These details are based on the light duty version, however should generally help you for building the heavy duty version also.
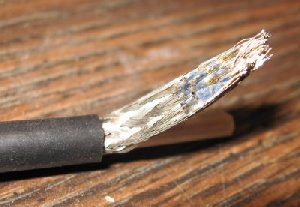
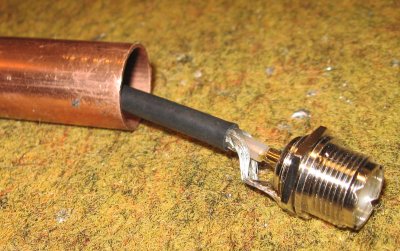
First, cut a piece of coax about 24" long. If you happen to choose a larger size from RG-58/U, such as RG-8X you may have to enlarge that 1/4" you drilled for the matching area. Next, strip back about an inch or two and separate the shield and center in this fashion. Strip the center.
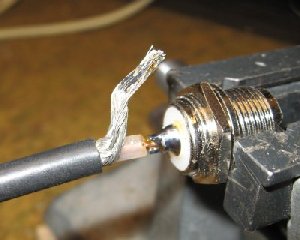
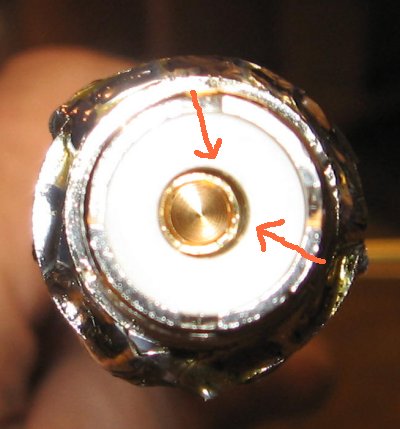
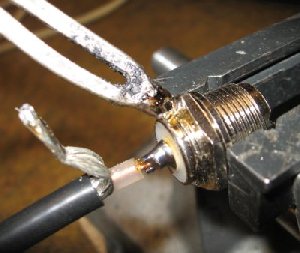
Having a small vice really helps. Solder the center to the connector. If you happen to choose those "cheap" UHF connectors that "look" like teflon, but is not; it may drift a little with excessive heat as shown in the right image.
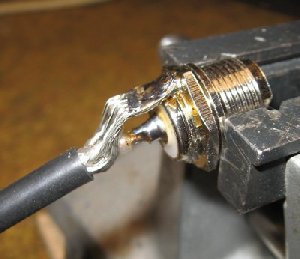
Next, provide a good tinning area with the gun. Then lay down the shield and solder it. That's it for the connector end.
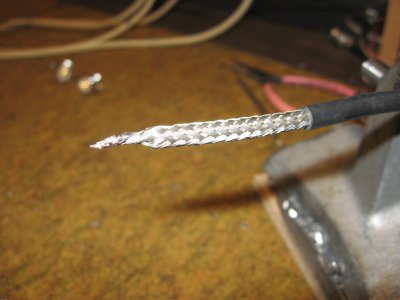
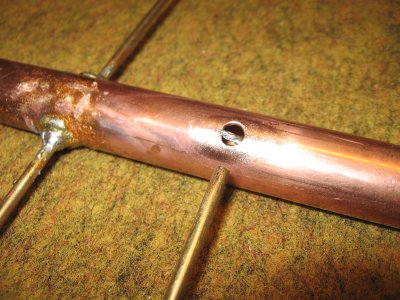
How to get the matching end inside the boom ? First, hold the connector at the end of the boom and note where the coax length will be coming out of the matching hole. Strip back that amount (and another inch). Then push down the shield and cut off about an inch or so of the center. Then pull the shield back over the center, twisting the end of the shield together and even touch the end with a little solder. Now you've made a handy, tapered "handle" to grab it in the hole.
Feed the coax inside the boom. Occasionally you'll have to play with it to get past the reflector element. This is especially true with the heavy duty version. Soon you'll see that "handle" you made visible in the hole. Either give it a little twist or grab it with some needle nose.
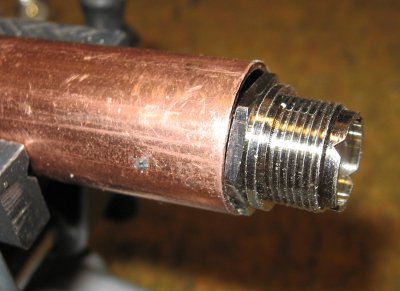
Pull the coax out enough so the connector is sitting up against the end of the boom and solder it. This will make a good electrical connection, plus keep the water out.
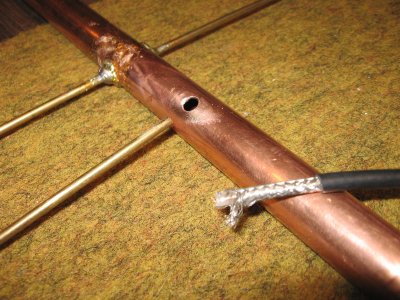
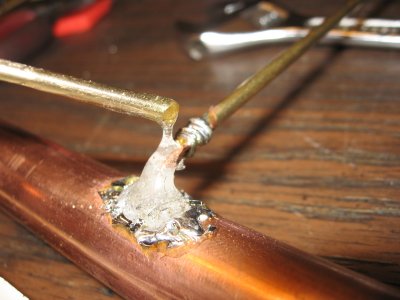
Next, fan out the shield of the coax at the matching area and solder it to the boom. To help keep the heat down on the coax the Author tins the boom's surface around the hole prior to installing the coax. Then it doesn't take as much (or long) heat to solder the braid.
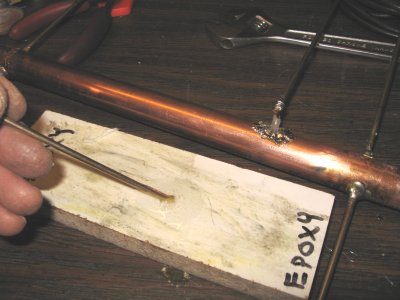
Bend the center toward the match. Wrap the connection with some wire and solder. Be careful on the heat, too, so the center does not "ooze". If it wants to, hold down the center until it cools.

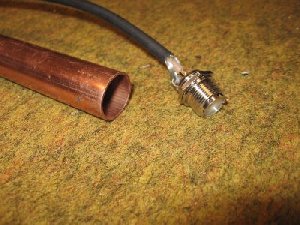
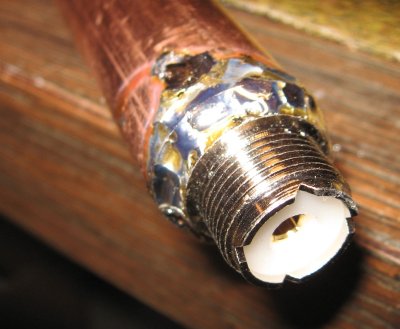
Less the sealant; this is generally what the installed coax and match should look like (picture's enlargeable).
As mentioned in the first page, either epoxy or RTV seal the area, or both. Remember to use a non-corrosive type, such as DowCorning's 748.
Other notes:
The sealing is for keeping the water out, but also very important for good support of the coax center and matching section. This is especially import for the heavy duty version, which will have ice loading on it.
![[SRG home Direction]](images/srghome.gif)