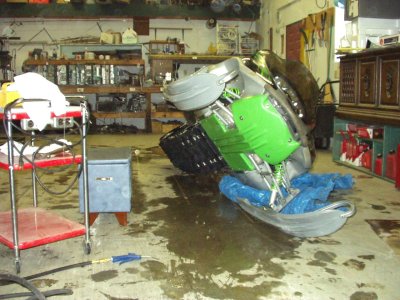
Remember those little guys? They are the "silent" helpers to make your sled operate nicely. Try to remember them too, because it's just another "gacha" out there on the snow, if you let it go too long. For the author 4,000 miles definitely time. For starting, a cart is handy for the proper level for tools and not needing to walk very far. Leaving them on the floor is generally a bad idea (been there, done that) unless it's some major, heavy project that demands it. With the cart and a little sitting stool as to save one's knees, tilt your sled to bring the working area up to a decent level to work on. Allow about an hour for each side; more if this is your first time. Put a tarp or something loose on the low side, in the event you bump things and the sled rolls over on it's side. The tarp will protect the finish. Use a block or little item to wedge in the rear to keep the sled in this position for this project. When you finish this side, reverse the arrangement for the other side as well. These pictures are small to help out the dial-up access folks. For a large version of a picture, click on it.
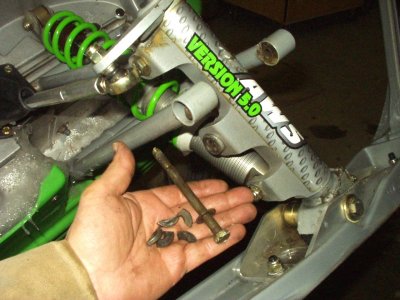
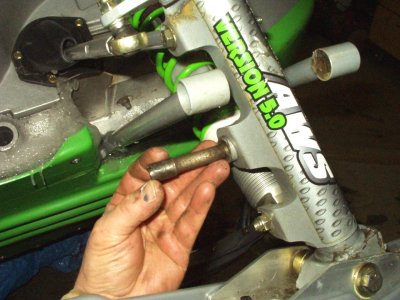
For the 1M, the most wear appears to be on the outer, a-arm spindle and bushings, so this is were we will start. Should you choose to both inner and outer maintain then double up on the replacement part from the amounts given in this article. Remove the nuts and bolts, accounting for the flat washer. If the bolt's a little stubborn you can tap it out with another (cheap) bolt from your junk box around the 5/16" size, being careful not to mess up the bolt's threads. For the lower A-arm, there will two metal bushings with a "pin" in the middle as show in the right picture.
In this case the bushing came out in pieces, however, one end of the pin was (rusted) and stuck into the bushing. One idea (if it won't come off) is to "weaken" the outer piece (discarded bushing) by grinding one edge, being careful not to go into the pin, should you be reusing it. If you are replacing the pin as well, then skip this step. Once weaken a simple blow or two with the hammer with spit and you then can twist those two pieces apart with a couple of piers. Clean the tubing areas, then apply some grease inside, and assemble the new bushings (and pin, if doing that). One more area will need attention (which was missed the first time) is the upper A-arm which has a tube on the outer end with two plastic bushings inside. Replace them as well. That's two per side, or a total of four for the sled. Sometimes they are stubborn to come out; some tapping with a bolt edge or long pin on the edges usually gets them out enough to grab an edge. These bushing's condition have a real affect on the entire front end suspension performance. When they are replaced, align up the a-arms, insert the bolts, nuts and torque them to manual specs, in this case, 25-30 foot lbs.
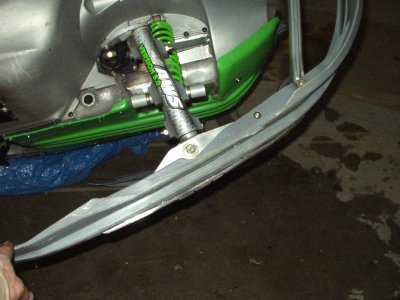
The skin bushing could use some relief as well. Start with removing the cotter pin, nut and bolt, accounting for the arrangement of the offset washers and that fun-loving rubber baby bumper thing, that limits the ski's vertical movement. Install the new bushings and again, apply grease inside the tubing to help out the bushings.
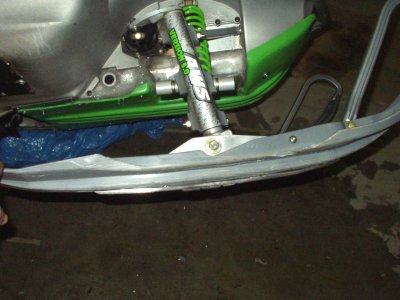
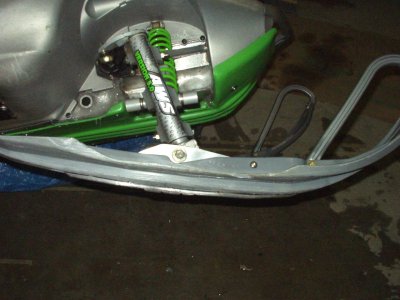
Mounting the ski can be a little tricky, if attempting yourself, however can be done. Remember to orientate that rubber bumper in the correct direction. The ski's movements (or restriction of) should appear (generally) as in these pictures. If not try reversing the bumper. You sled will thank you for this simple maintenance !
![[Kar's sled page]](images/winter_home3.gif)