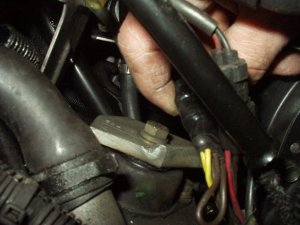
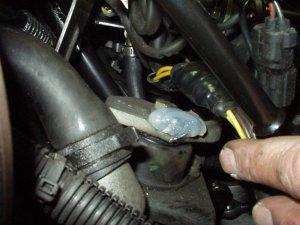
If you've have your sled for a while it's time to check wiring. This is especially the case with the 1M. The author was routinely performing a visual inspection since the sled is now going on it's 3rd or 4th season with over 4400 miles of great riding. Darn good thing too, because those riding times would come to a rude awaking with a short on a major part of the system. Horrified to discover, by turning one connector around, to observe the vibrations had cut though the outer jacket and was beginning to arch on the frame work, specially the right rear motor mount as you can see by the roughness on the aluminum surface. After several layers of electrical tape a further precaution is to "dap" some RVV on the area as a "bumper". RTV is wonderful stuff, just be careful when handling it, since it sticks to everything, metal, glass, YOU, etc. If you wait until it dyes (next day) it's fairly easy to remove unwanted "blobs" here and there.
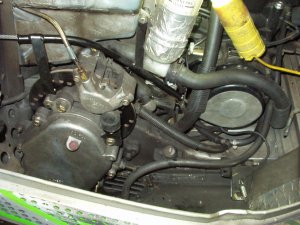
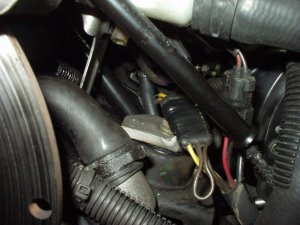
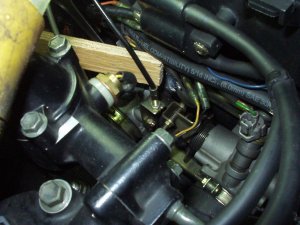
These pictures can be enlarged by clicking on them, however they will load slow if you are on a dial-up connection. The first picture is the general area of potential rubbing problems with some of the wiring. The next shows the pitted aluminum from the wiring touching ground ! The next picture shows the connector tape and the last shows addition protection with a RTV "blob".
While further checking there was one other point of wire touching and starting to wear against the throttle mount. Again, a blob took care of the problem. In these pictures you might have noticed a piece of wood. They are just to keep the wire pushed away during drying and will be removed later.
![[Karl's sled page]](images/winter_home3.gif)